
Brave by ELAINE KING
I used a piece of my own white card as my base and cut four 2.5” pieces of patterned paper as shown. I then matted them on the Pineapple Bliss and the Whirlpool card stock leaving a tiny border on...
on orders over £50
I used a piece of my own white card as my base and cut four 2.5” pieces of patterned paper as shown. I then matted them on the Pineapple Bliss and the Whirlpool card stock leaving a tiny border on...

Hi everyone, Nicola here sharing my first layout of the New Year from the January 2026 Scrapaholix Kits, which are based around Uniquely Creative's Written In The Stars collection. The blog post walking through what you get in the main...

First adhere the large star to the piece of white card in your kit ensuring you leave approximately a third overhanging the page. Cut the overhang off and stick the remaining third of on the other side of the white...

Hi everyone, Nicola here sharing my first layout from the December 2025 Scrapaholix Christmas Kits - you may have seen on the previous blog post that there are 2 different options for the Scrapaholix kits this month - a Christmas-themed...

It's December already, and today I'm here to show you our December kits. In December we produce 2 kits as not everyone likes to scrap their Christmas, so we like to give our subscribers a choice! The Christmas Kit features...

First take the sheet of Fig Swirl card stock and cut two strips measuring 1” x 12” of the teal swirly paper. Ink the edges with Iced Spruce Distress Oxide. Adhere one of these at both the top and the bottom. Cut...
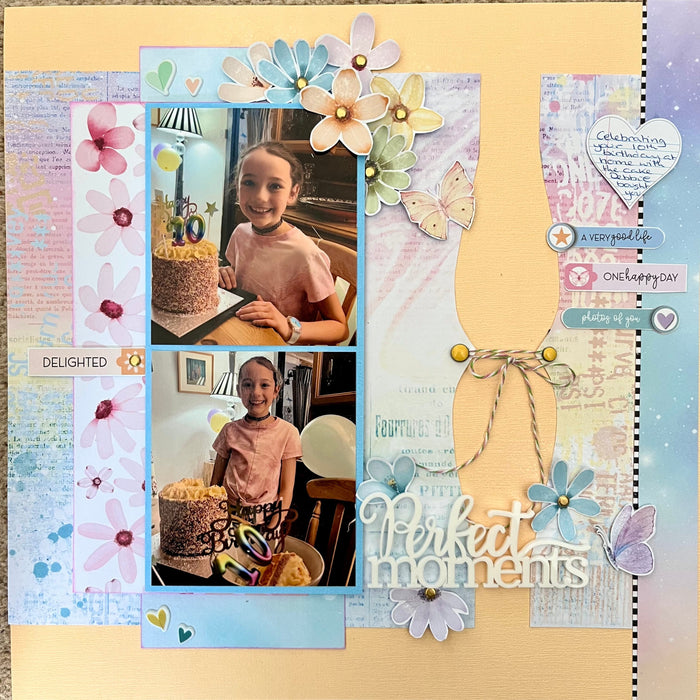
First take the yellow card stock to use as your background. Next take the Colour Crush pattered paper with the text on and cut a 9.5” x 10” panel. Next cut a 2” strip off the long edge. Cut both pieces with...

First take the Sparkle and Shine heart paper and trim it to 11.5” Then gut the central panel of the coral coloured cardstock leaving a 1” frame. Use the gutted piece to mount your 4” x4” photo. Raise this on foam pads and place...
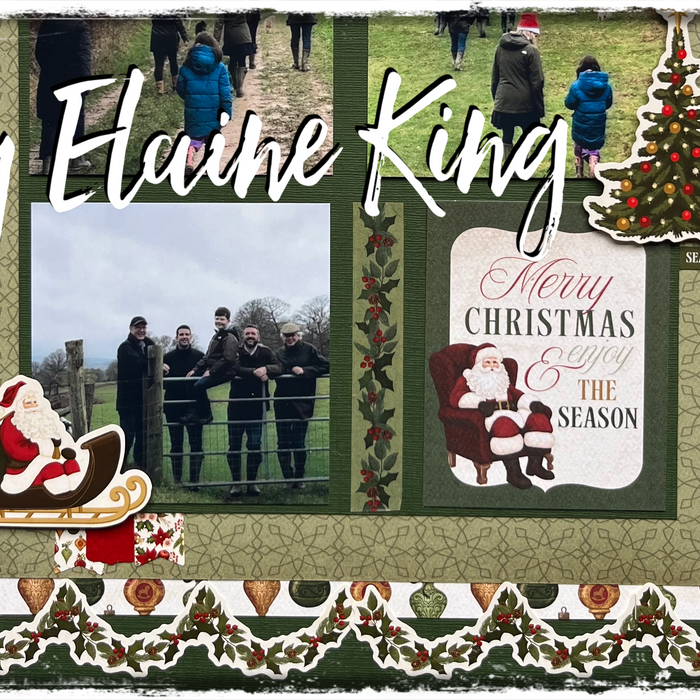
First I took the sheet of Evergreen cardstock and gutted a centre panel leaving a 2” border. Next I cut a square measuring 10” x 10” of the Vintage Ornaments paper and I mounted it on the Evergreen frame. I...