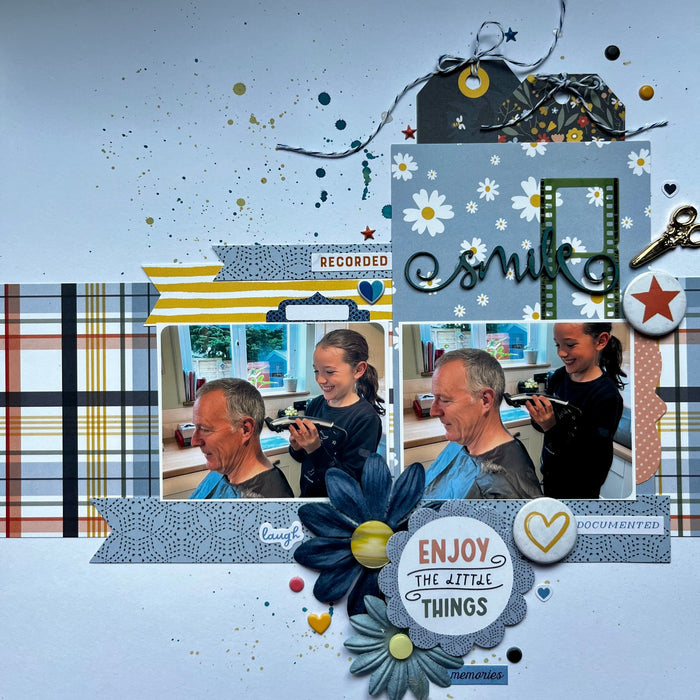
Smile by ELAINE KING
First take the sheet of white card. Squidge Unchartered Mariner Distress Oxide ink down on to a craft mat and spritz with a little water from a mister. Use a paintbrush to collect some of the inky puddle and tap...
on orders over £50
First take the sheet of white card. Squidge Unchartered Mariner Distress Oxide ink down on to a craft mat and spritz with a little water from a mister. Use a paintbrush to collect some of the inky puddle and tap...

Today I'm up on the blog showing you a layout I recently created used the gorgeous July Scrapaholix kits. As soon as I saw the floral paper in the Master of Magic range, the idea for this layout was in...

First take the plum paper with the scrolls and place the Raven cardstock on top having cut it to 11 &1/4”. Next cut four strips measuring 1.5” x 10” of the teal card and the teal scroll paper. Place these equally...

Hello lovely crafty people! July is here and so are our fabulous July kits! This month our kits feature papers and products from Stamperia's gorgeous Master of Magic range. I just adore the colours in this range, and the motifs...

First take your white cardstock and using the Vicki Boutin Print Shop stencil, make two clusters to the top right and bottom left of the card. I used Fossilised Amber Distress Oxide and a LIGHT brushing of Black Soot Distress...
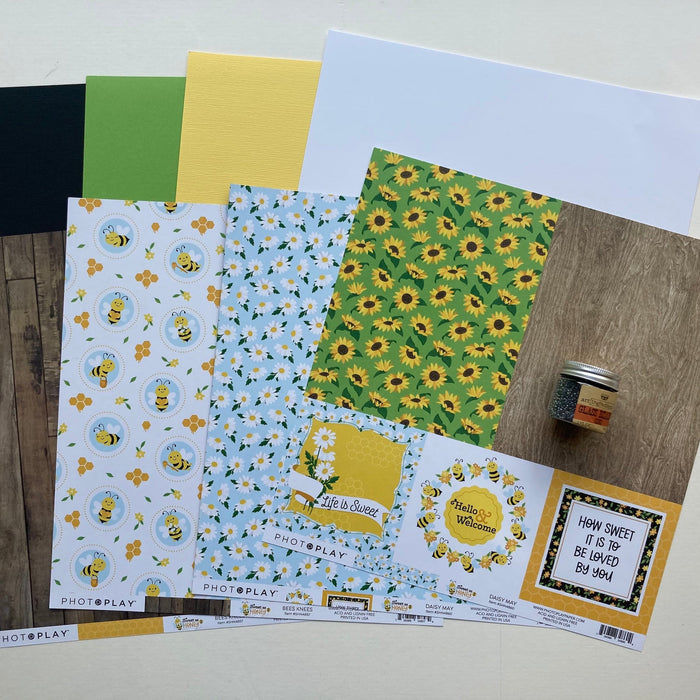
Our lovely Scrapaholix kits this month feature papers from PhotoPlay's Sweet as Honey 2 range. Also included in the main kit is a jar of Finnabair Zinc beads, perfect for adding a bit of bling and dimension to your projects!...

Welcome to May and with it comes our brand new Scrapaholix kits! You won't be disappointed this month, we have the amazing Wanderlust Explorer range from 49 and Market featuring in our kits. Perfect for all your travel projects and...
First take the yellow card stock to use as your background. Next take the Colour Crush pattered paper with the text on and cut a 9.5” x 10” panel. Next cut a 2” strip off the long edge. Cut both pieces with...

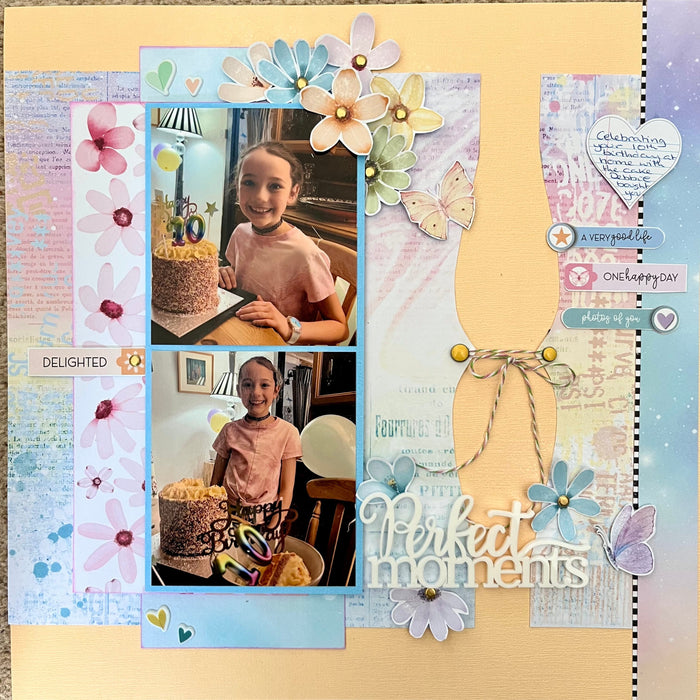
First take the Sparkle and Shine heart paper and trim it to 11.5” Then gut the central panel of the coral coloured cardstock leaving a 1” frame. Use the gutted piece to mount your 4” x4” photo. Raise this on foam pads and place...