Free Shipping
on orders over £50
on orders over £50
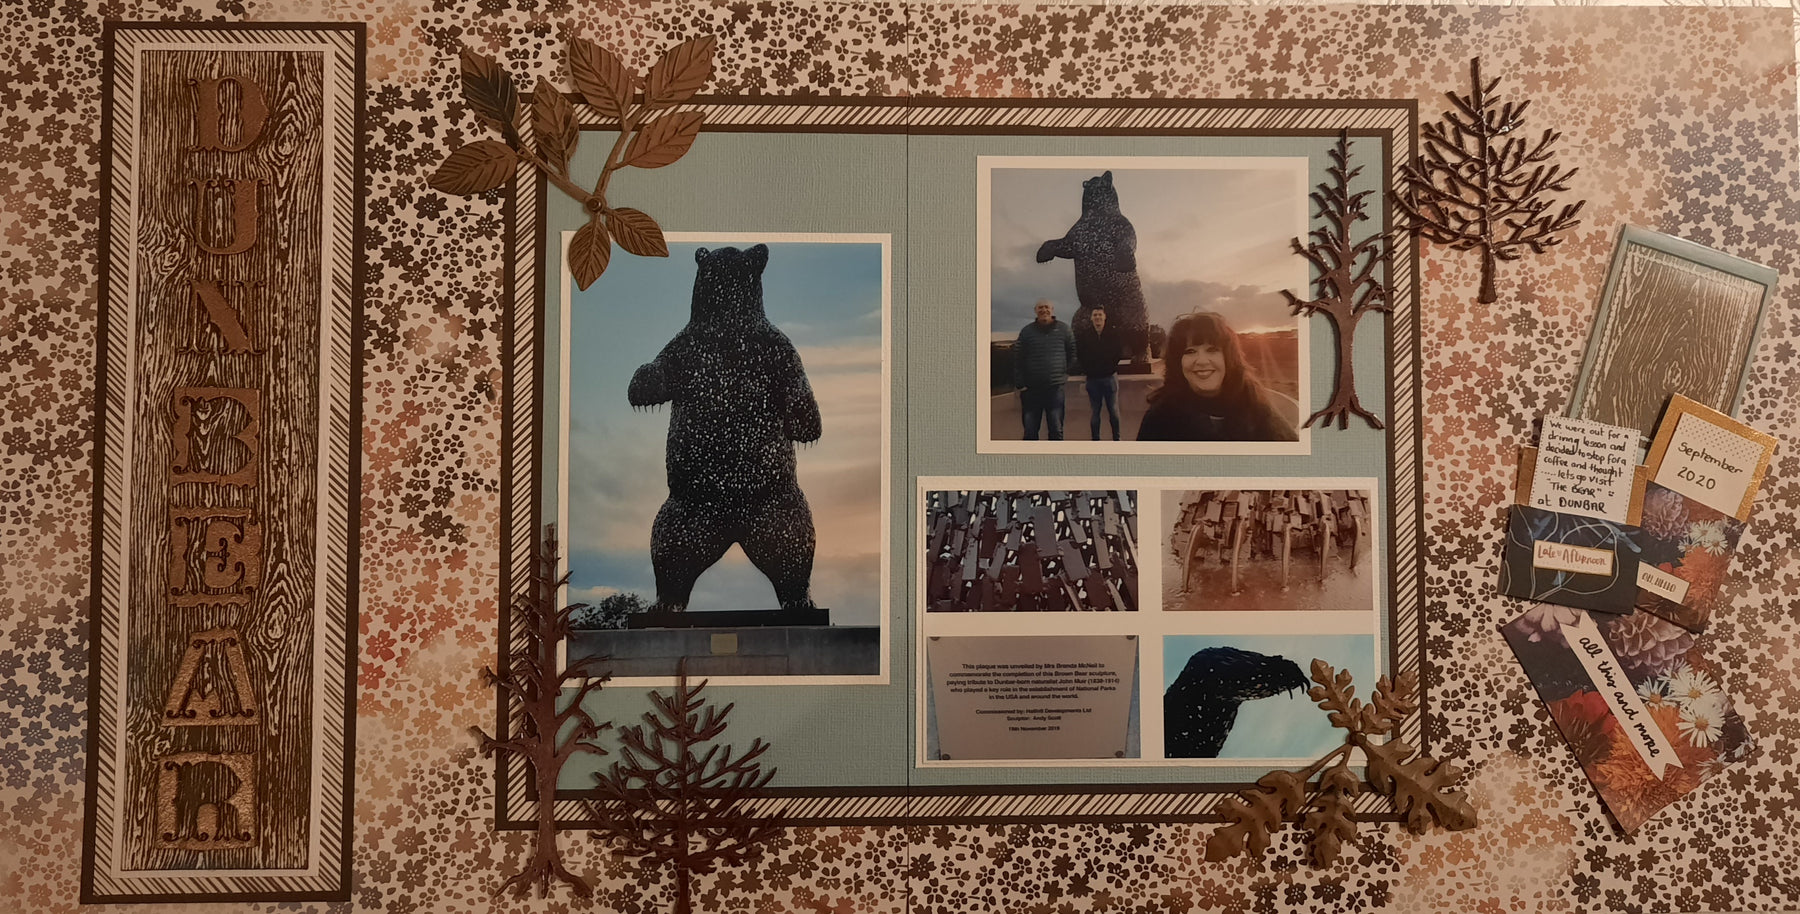

DUNBEAR
Janine has chosen the beautiful Late Afternoon range for this month’s kit. The stunning autumnal tones of brown, orange, yellow and blue.
These colours reminded me of a late afternoon this month when we took a drive down the East Coast to Dunbar in East Lothian. This is where we had a prompt visit to the Bear Sculpture. This Bear pays tribute to the naturalist John Muir and was sculpted by Andy Scott, the same chap who designed the Kelpies in Falkirk, West Lothian. If you are ever up this way, please visit the Kelpies, you will not be disappointed and if you drive up the A1 you will see the Bear and pop in to Janine's wonderful shop!
I have created a double layout using 2 sheets of Winding Down. To help the paper match in the centre, I turned one page upside down, putting the dappled shades to the outside and the solid shades to the inside.
For my photo base, I used two sheets of Bazzill Java, one sheet of Weather the Storm and one sheet of Bazzill Coastal. I used 3 photos, 2 landscape, 1 portrait and decided to off set the photo matt allowing for a title down the left-hand side. Firstly, I cut
Matt 1 - Java 11 ¾” x 9 ¼”
Matt 2 - Weather the Storm I cut 11 ¼” x 9”
Matt 3 - another piece of Java 11 1/8” x 8 ½”
Matt 4 - then Coastal 10 7/8” x 8 ¼”
I laid them on top of each other, then placed them on my layout. Once I was happy with my placement I needed to split across the papers.
I then split the paper to
Matt 1 – Split to 5 1/8” x 6 6/8”
Matt 2 – Split to 5 “x 6 4/8”
Matt 3 – Split to 4 ¾” x 6 ¼”
Matt 4 – Split to 4 5/8” x 6 1/8”
I then used scor-tape and secured them onto the layout.
For my photographs, I matted my portrait photo of the Bear & my landscape multi photo with White Bazzill, both cut 6 ¼” x 4 ¼”. My family landscape photo was smaller 3 ¾” x 4 ¼” which was printed with a border. I placed the photos on the photo base and secured them once happy with the positioning.
My chosen embellishments were Finnabair Mechanicals – Woodland Leaves which I laid onto the top left and bottom right of my photo base. I secured these with a brad from my stash and some 3D Gloss Gel.

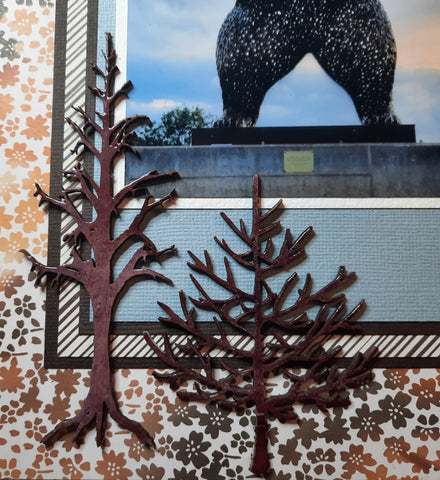
As always for me my layout is never complete without some Dusty Attic chippy! This time I used Mini Bare Tree #1 and Mini Bare Tree #3. I coloured these with Distress Ink – Aged Mahogany, then embossed them with some Clear embossing powder. I then placed one of each tree to the bottom left and top right of my photo matt.
For my title I decided again to matt using Java, Weather the Storm and piece of the Woodgrain cardstock – 1 half of which I coloured using Distress Ink.
So, first cutting a piece of Java 3 ¼” x 11”
Weather the Storm 3 x 10 ¾”
Woodgrain 2 ½” x 10 3/8”
Coloured Woodgrain 2 ¼” x 10 ¼”
Colouring the woodgrain was simple, first I used Distress Ink Fossilized Amber, slowly rubbing the ink pad up and down covering all the page. I then applied some Faded Jeans and to finish off I used Aged Mahogany. Who knew how it was going to turn out, but I love the way the yellow and blue tones come through the brown. I always remember Janine telling me…. Use light colours first!

Once my title matt was in place, I added more Dusty Attic Chippy letters. Using ABC Curls – my first 3 letters I used normal pieces, then for the BEAR I decided to use the outer area that is left over once you have used up the letters. I though this made a great effect and split the word nicely – emphasising BEAR and hey…no waste. I then coloured these with Acrylic paint – Brass Hardware. I stuck these down with 3D Gloss Gel.
To finish off, I used the Late Afternoon pocket notes (very pretty) for my journaling and date. The teal frame I added some more coloured woodgrain cardstock and a die cut from the All This and More Paper and created a cluster!

Extra Items Used
Acrylic Paint - Brass Hardware
Finnabair Mechanicals Woodland Leaves
Comments
Leave a comment