Free Shipping
on orders over £50
on orders over £50
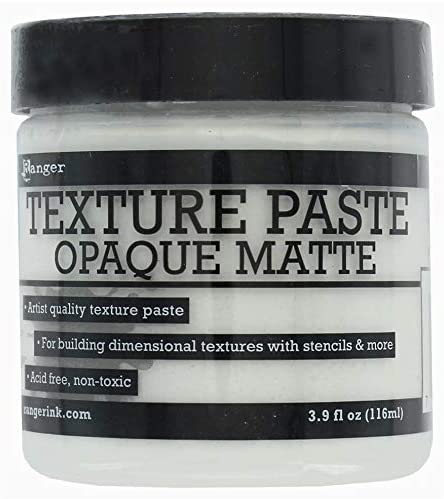
There are many different texture pastes on the market, but if you are new to using texture paste, I would definitely recommend trying Ranger's Opaque Matte texture paste. This features in our Scrapaholix kits this month, so here is some information about this really useful product and some tips and ideas on how to use it.

When you open the jar you will notice it is a white, very thick paste, much thicker than other texture pastes on the market. It dries with a white, matte finish which is firm but flexible, and won't crack.
The thickness of this paste means it is really easy to use with stencils, which is the primary use for texture paste. To use, apply with a palette knife, (or even an old credit card will do), press down and lightly scrape the excess off. Ensure you immediately wash off stencils and your palette knife, otherwise it will dry hard on them and be more difficult to clean. In the image below, you can see the detail you can get with this texture paste:

It will take around 10 - 15 minutes for the texture paste to dry. You can use a heat tool on it to speed up drying time, but you may find it will puff up a bit.
So, apart from using this product as is, what else can you do with it? Well, lots!
The thing about this texture paste, compared to a lot of other ones, is that it is designed to absorb colour! So, you can mix it with various mediums, and the colour will remain vibrant - it won't go much paler which you would expect when mixing colour in to something white.
Mix the paste with inkpad reinkers, for a strong colour, or for a lighter colour, press your inkpad on to your craft sheet and mix in some texture paste to make a custom colour paste. You can also add in sprays or even paint, as I have below. I have mixed in several colours of paint, and not mixed them in fully, to get a more random effect.

Another good thing about this texture paste is you don't have to mix in the colour before you use the paste. You can add the colour once the paste is applied and dried, unlike other texture pastes. This technique makes the texture paste a bit more subtle, as it fades in to the background more. In the image below, I have sprinkled the texture paste with Magicals and then misted with water to let the colours run. You can see how well the texture paste absorbs the colour.

In the next image, I have used mists to colour the texture paste, and then done some stamping over the top to create more interest.

One final thing you can do - I love this one! You can apply texture paste through a stencil, and then sprinkle it with embossing powder. But don't heat it just yet - allow it to dry (around 20 minutes) and then heat it. You will have a fabulous raised embossed image! Try it!
If you have struggled with texture pastes in the past, I would say you may have been using the wrong ones - this really is fool-proof, because of how thick it is, compared to other texture pastes. It is ideal for beginners, and I urge you to try it!
This is the first in a series of 3 texture paste posts, we will be looking at the gloss and matte Ranger texture pastes soon.
Leave a comment