Explore by ELAINE KING
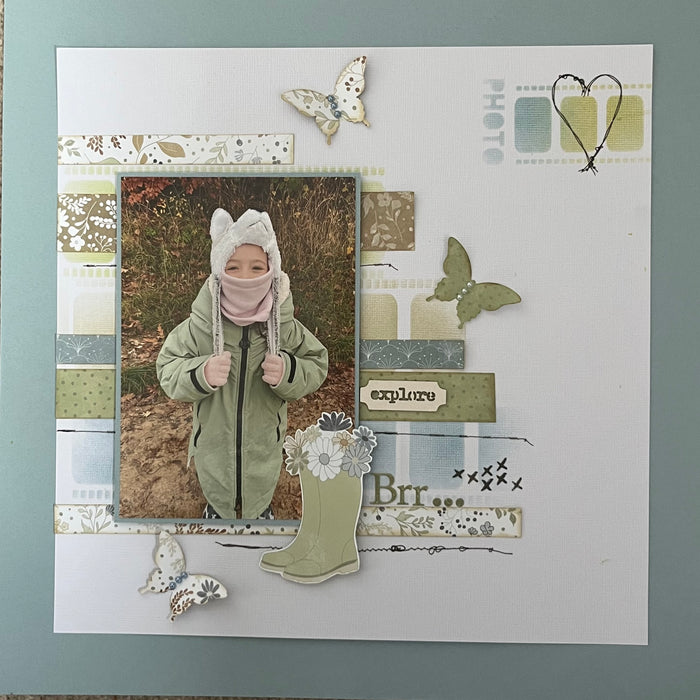
Gut the pale blue cardstock leaving a 2” border around the edge. Use white card to create a 10” square. Use a stencil with horizontal lines, linked below, and stencil a large panel on the left and a small panel on the...
on orders over £50
Gut the pale blue cardstock leaving a 2” border around the edge. Use white card to create a 10” square. Use a stencil with horizontal lines, linked below, and stencil a large panel on the left and a small panel on the...
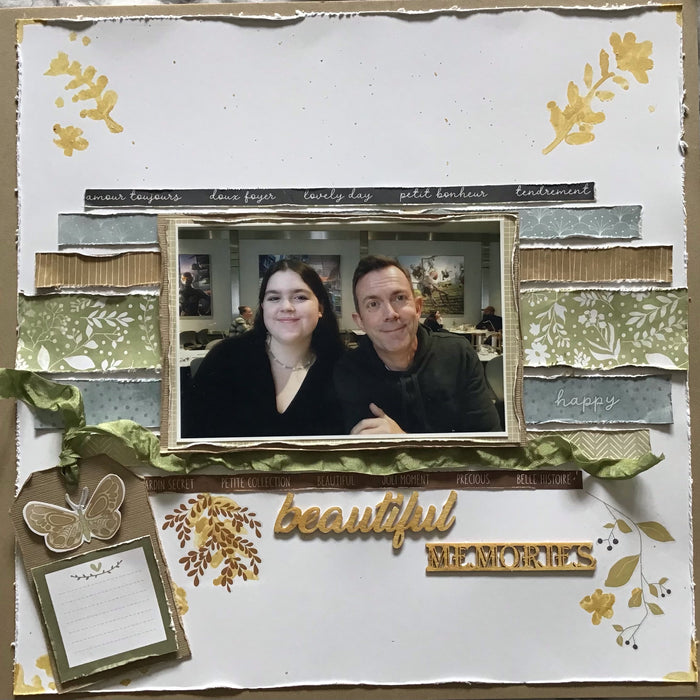
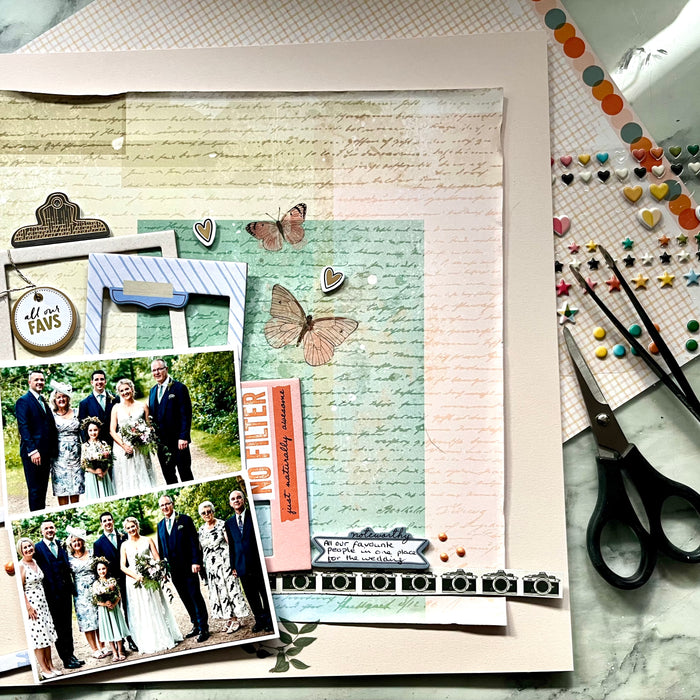
To start I trimmed the Coastal cardstock to 11x11 inches and the the no6 paper to 10x10 inches. I layered both of these, after distressing the edges, onto a piece of white cardstock. Then I trimmed the no2 paper to...
Take the Quicksand cardstock and trim the branding strip. Use the panels of patterned papers in the photo and create a grid LO similar to the photo. Mount the photo on the Pear coloured card and adhere using foam pads...
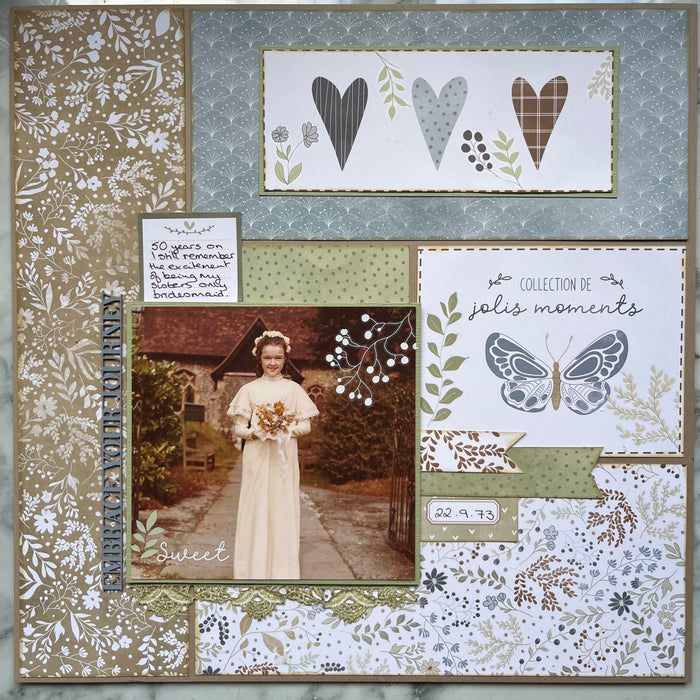
First of all I cut down the Coconut Swirl cardstock to 11.5 squared, and gutted the Quicksand cardstock to make a frame for the white.Using a stencil from my own stash I added some leaves to the corners of the...
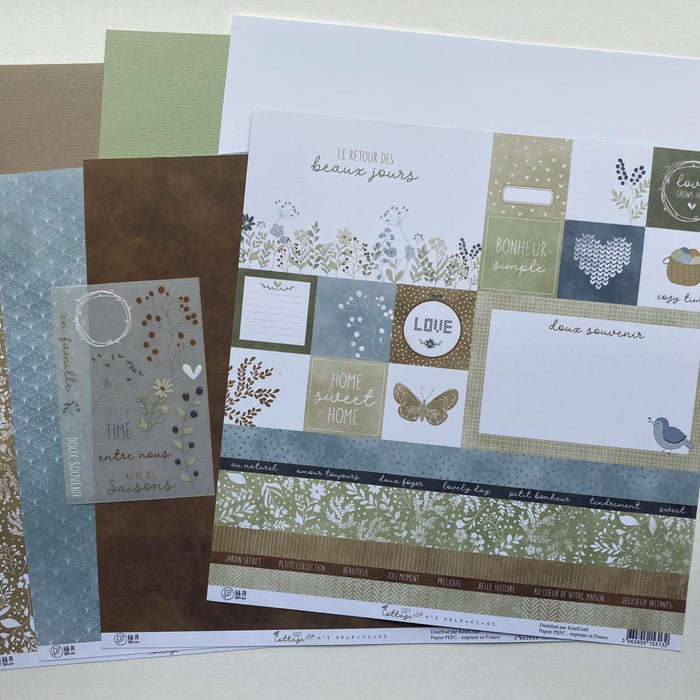
Our lovely April kits are now available, and you will not be disappointed! The kits for April feature papers and products from French brand HaPi Little Fox - the stunning Cozy Cottage range. We saw this when we went to Creative World in Frankfurt and...
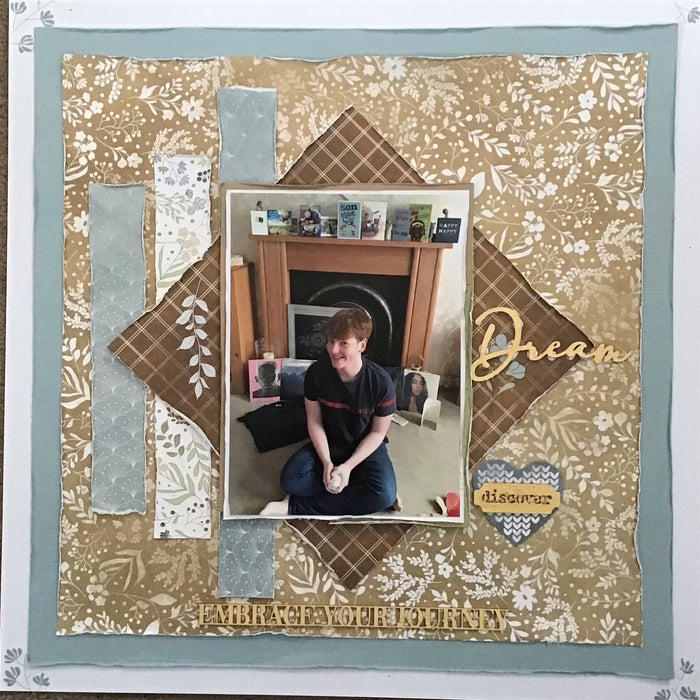
First take the Discover sheet and cut down to a 10” square. Heavily distress the edges and adhere it slightly at an angle on the Pale pink card stock. Mat 2 rectangular photos and mount on foam pads, angling them...

For this layout I used two 3x4 photos of my daughter many years ago in her Christmas nativity where she played a snowflake. I backed the photos using the Stonehenge card stock and then some scraps left over from the...

After making two layouts from the kit, I still had quite a lot of card and paper left over. I really liked the idea of using the bingo cards as a little booklet of some sort and little books and...

Another layout using the August Scrapaholix kit. And an excuse for me to get more rub-ons 😂 I kept it simple this time. I’ve used the rub-ons to surround my focal point and the numbers from the sticker sheet that...